Intro to Web Proxies
Overview
Today, most modern web and mobile applications work by continuously connecting to back-end servers to send and receive data and then processing this data on the user's device, like their web browsers or mobile phones. With most applications heavily relying on back-end servers to process data, testing and securing the back-end servers is quickly becoming more important.
Testing web requests to back-end servers make up the bulk of Web Application Penetration Testing, which includes concepts that apply to both web and mobile applications. To capture the requests and traffic passing between applications and back-end servers and manipulate these types of requests for testing purposes, we need to use Web Proxies.
What are Web Proxies?
Web proxies are specialized tools that can be set up between a browser/mobile application and a back-end server to capture and view all the web requests being sent between both ends, essentially acting as man-in-the-middle (MITM) tools. While other Network Sniffing applications, like Wireshark, operate by analyzing all local traffic to see what is passing through a network, Web Proxies mainly work with web ports such as, but not limited to, HTTP/80 and HTTPS/443.
Web proxies are considered among the most essential tools for any web pentester. They significantly simplify the process of capturing and replaying web requests compared to earlier CLI-based tools. Once a web proxy is set up, we can see all HTTP requests made by an application and all of the responses sent by the back-end server. Furthermore, we can intercept a specific request to modify its data and see how the back-end server handles them, which is an essential part of any web penetration test.
Uses of Web Proxies
While the primary use of web proxies is to capture and replay HTTP requests, they have many other features that enable different uses for web proxies. The following list shows some of the other tasks we may use web proxies for:
- Web application vulnerability scanning
- Web fuzzing
- Web crawling
- Web application mapping
- Web request analysis
- Web configuration testing
- Code reviews
Burb Suite
Burp Suite (Burp) -pronounced Burp Sweet- is the most common web proxy for web penetration testing. It has an excellent user interface for its various features and even provides a built-in Chromium browser to test web applications. Certain Burp features are only available in the commercial version Burp Pro/Enterprise, but even the free version is an extremely powerful testing tool to keep in our arsenal.
Some of the paid-only features are:
- Active web app scanner
- Fast Burp Intruder
- The ability to load certain Burp Extensions
Tip: If you have an educational or business email address, then you can apply for a free trial of Burp Pro at this link to be able to follow along with some of the Burp Pro only features showcased later in this module.
Installing Burp Suite
If Burp is not pre-installed in our VM, we can start by downloading it from Burp's Download Page. Once downloaded, we can run the installer and follow the instructions, which vary from one operating system to another, but should be pretty straightforward. There are installers for Windows, Linux, and macOS.
Once installed, Burp can either be launched from the terminal by typing burpsuite, or from the application menu as previously mentioned. Another option is to download the JAR file (which can be used on all operating systems with a Java Runtime Environment (JRE) installed) from the above downloads page. We can run it with the following command line or by double-clicking it:
m4cc18@htb[/htb]$ java -jar </path/to/burpsuite.jar>
- Note: Both Burp and ZAP rely on Java Runtime Environment to run, but this package should be included in the installer by default. If not, we can follow the instructions found on this page.
Starting Up Burb Suite
Once we start up Burp, we are prompted to create a new project. If we are running the community version, we would only be able to use temporary projects without the ability to save our progress and carry on later:
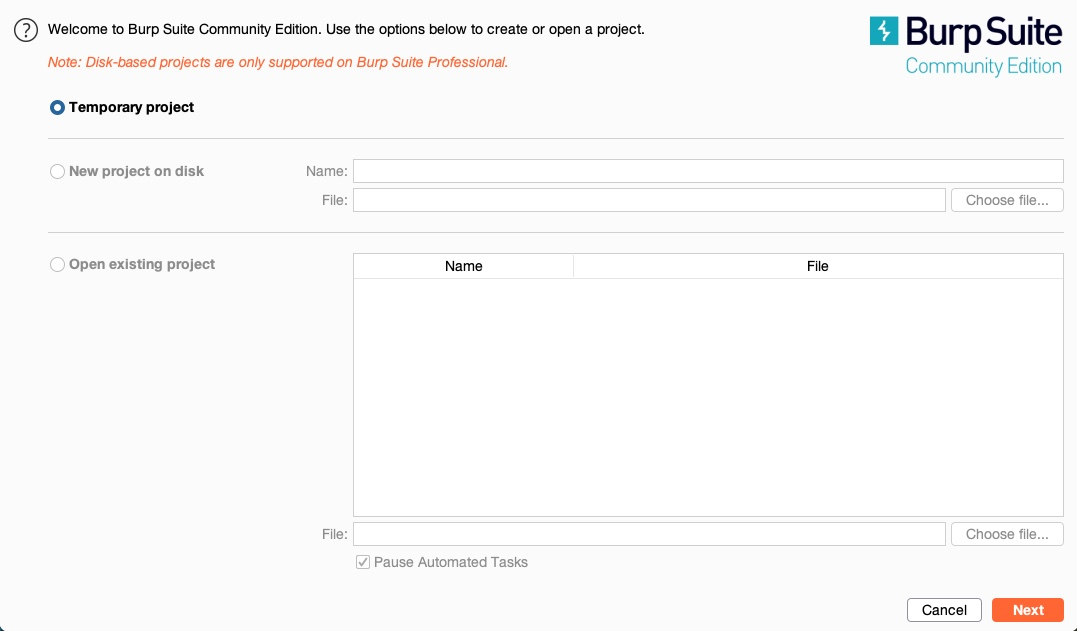
If we are using the pro/enterprise version, we will have the option to either start a new project or open an existing project.
We may need to save our progress if we were pentesting huge web applications or running an Active Web Scan. However, we may not need to save our progress and, in many cases, can start a temporary project every time.
So, let's select temporary project, and click continue. Once we do, we will be prompted to either use Burp Default Configurations, or to Load a Configuration File, and we'll choose the first option:
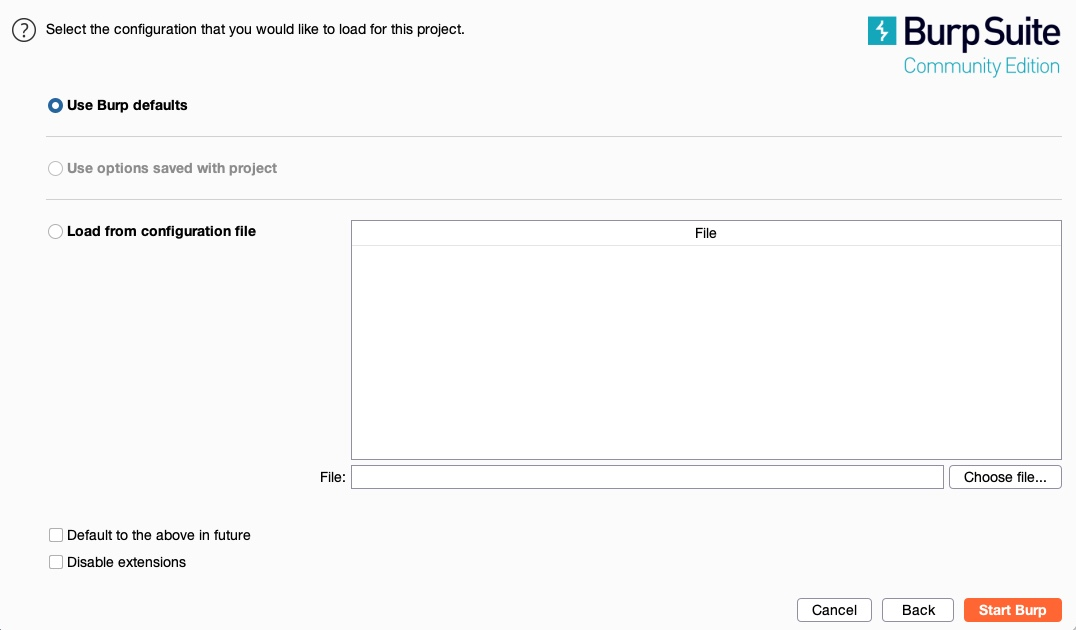
Once we start heavily utilizing Burp's features, we may want to customize our configurations and load them when starting Burp. For now, we can keep Use Burp Defaults, and Start Burp. Once all of this is done, we should be ready to start using Burp.
OWASP Zed Attack Proxy (ZAP)
OWASP Zed Attack Proxy (ZAP) is another common web proxy tool for web penetration testing. ZAP is a free and open-source project initiated by the Open Web Application Security Project (OWASP) and maintained by the community, so it has no paid-only features as Burp does. It has grown significantly over the past few years and is quickly gaining market recognition as the leading open-source web proxy tool.
The main advantage of ZAP over Burp is being a free, open-source project, which means that we will not face any throttling or limitations in our scans that are only lifted with a paid subscription. Furthermore, with a growing community of contributors, ZAP is gaining many of the paid-only Burp features for free.
Installing ZAP
We can download ZAP from its download page, choose the installer that fits our operating system, and follow the basic installation instructions to get it installed. ZAP can also be downloaded as a cross-platform JAR file and launched with the java -jar command or by double-clicking on it, similarly to Burp.
Setting Up ZAP
To get started with ZAP, we can launch it from the terminal with the zaproxy command or access it from the application menu like Burp. Once ZAP starts up, unlike the free version of Burp, we will be prompted to either create a new project or a temporary project. Let's use a temporary project by choosing no, as we will not be working on a big project that we will need to persist for several days:
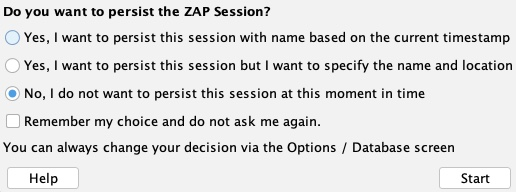
After that, we will have ZAP running, and we can continue the proxy setup process, as we will discuss in the next section.
Tip: If you prefer to use to a dark theme, you may do so in Burp by going to (User Options>Display) and selecting "dark" under (theme), and in ZAP by going to (Tools>Options>Display) and selecting "Flat Dark" in (Look and Feel).